Introduction to VS Code
Visual Studio Code (VS Code) is a lightweight yet powerful source code editor developed by Microsoft, it supports hundreds of programming languages through extensions and runs on Windows, macOS, and Linux.
Installation Process
Windows Installation
1.Visit code.visualstudio.com
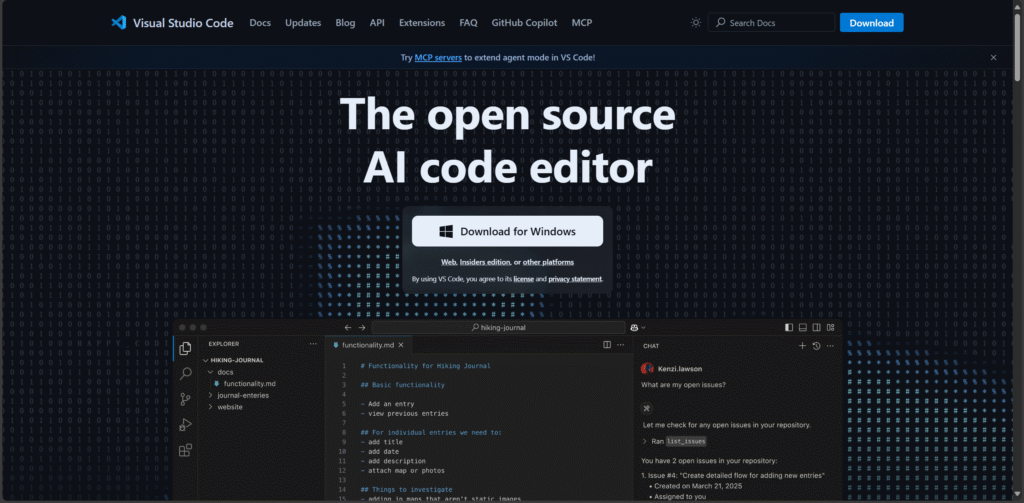
2. Download the Windows installer (User or System version)
3.Run the .exe file
4.Follow setup wizard instructions
- Recommended options:
- Add “Open with Code” action
- Register as supported file types editor
- Add to PATH
macOS Installation
- Download the .zip archive or .dmg file
- For .dmg: Drag to Applications folder
- For .zip: Extract and move to Applications
- First launch may require security approval
Linux Installation
- Download .deb (Debian/Ubuntu) or .rpm (Fedora) package
- Install via terminal:
sudo apt install ./<file>.deb # Debian sudo dnf install <file>.rpm # Fedora
Initial Configuration
Essential Extensions
- Install from Extensions Marketplace (Ctrl+Shift+X):
- Language support (Python, JavaScript, etc.)
- Prettier (code formatting)
- ESLint (JavaScript linting)
- GitLens (Git integration)
Recommended Settings
- Open Settings (Ctrl+,)
- Adjust:
- Font size and family
- Tab size (recommend 2 or 4 spaces)
- Auto Save (onFocusChange)
- Theme (default Dark+ works well)
Terminal Integration
- Built-in terminal supports:
- PowerShell (Windows)
- bash/zsh (Linux/macOS)
- Configure default shell in settings
Post-Installation Tips
- Sync settings across devices with Settings Sync
- Learn keyboard shortcuts (Ctrl+K Ctrl+S)
- Explore command palette (Ctrl+Shift+P)
- Set up version control with built-in Git support
Troubleshooting
Common issues and solutions:
- Installation fails: Check antivirus/firewall
- Extensions not loading: Disable and re-enable
- Performance issues: Disable unused extensions