Introduction to Python Installation
Python has become the world’s most popular programming language, and proper installation is crucial for development. This guide covers installation on Windows, macOS, and Linux systems.
Windows Installation
1.Visit python.org/downloads
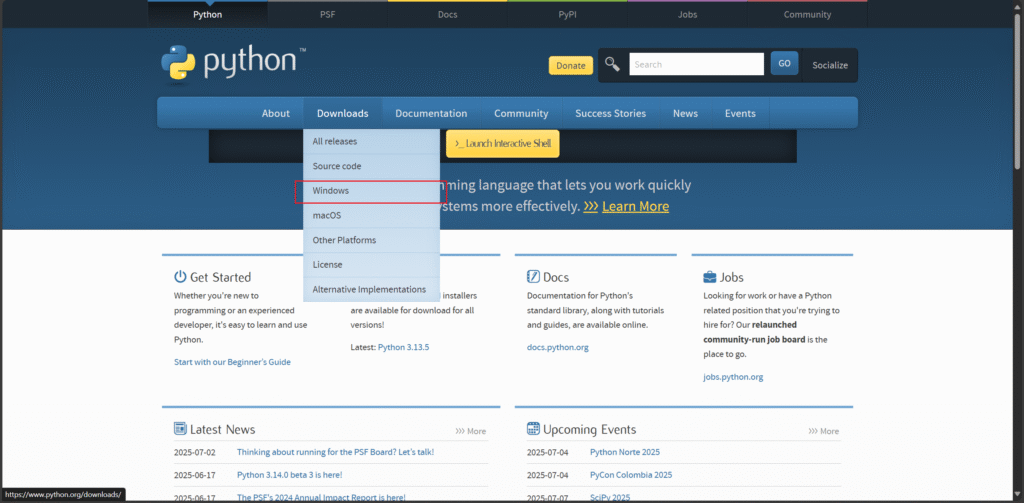
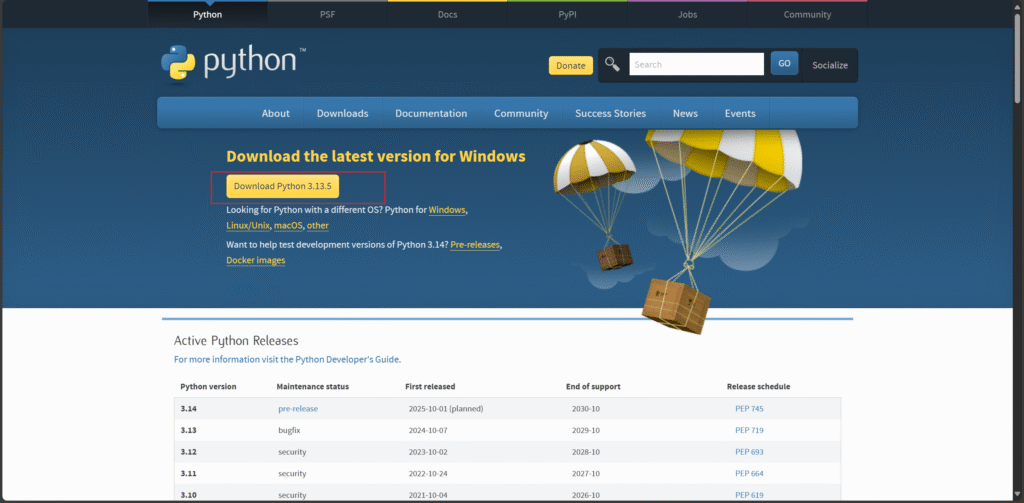
2.Download the latest stable release (Python 3.12 as of 2025)
3.Run the installer executable
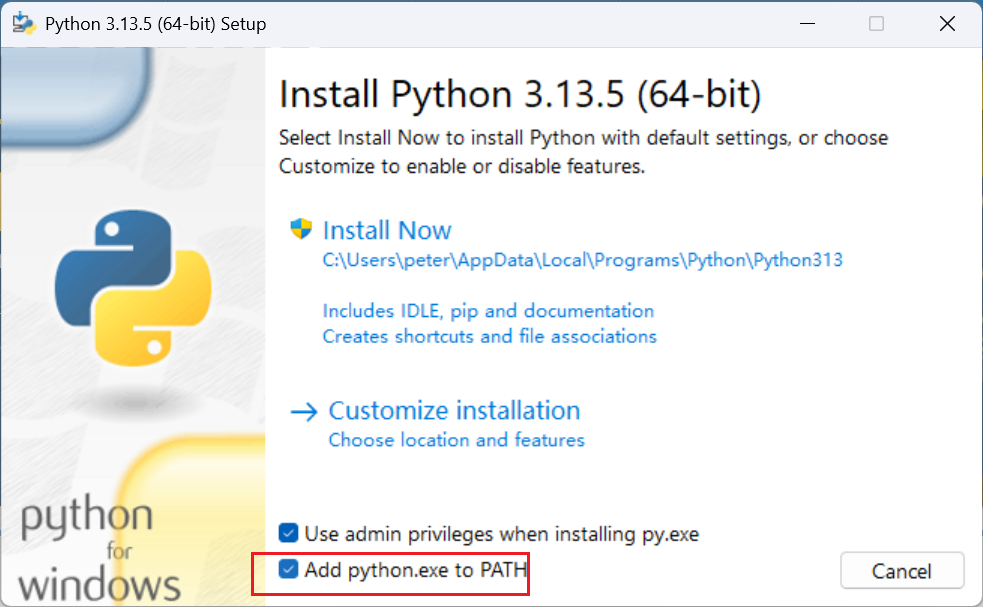
4.Check “Add Python to PATH” (critical for command line access)
5.Select “Install Now” for standard installation
6.Verify installation by opening Command Prompt and typing: python --version

macOS Installation
- Recommended method: Use Homebrew package manager
brew install python - Alternative: Download from python.org
- Download macOS installer package
- Run the .pkg file
- Complete installation wizard
- Verify with:
python3 --version
Linux Installation
Most Linux distributions come with Python pre-installed.
- For Debian/Ubuntu:
sudo apt update && sudo apt install python3 - For Fedora/RHEL:
sudo dnf install python3 - Verify with:
python3 --version
Post-Installation Setup
- Install pip (Python package manager):
python -m ensurepip --upgrade - Set up virtual environments:
python -m venv myenv - Configure your IDE/text editor (VS Code, PyCharm)
Hello World!
print("Hello World!")Troubleshooting Common Issues
- PATH not configured: Manually add Python to system PATH
- Multiple Python versions: Use py launcher on Windows
- Permission errors: Use sudo on Linux/macOS
Conclusion
With Python properly installed, you’re ready to start developing applications, analyzing data, or automating tasks. Remember to keep your Python installation updated for security patches and new features.